INTERFACE™ TUTORIALS
Making Changes to the Text in Microsoft Publisher®

INTERFACE™ TUTORIALSMaking Changes to the Text in Microsoft Publisher® |  |
This page describes how to change the text of your CMA, using Microsoft Publisher.
To change any of the text in your CMA you use Microsoft Publisher much like any Windows based word processor. Some of these basic word processor functions are described below.
Inserting Text:
The most basis text operation is inserting text. To do this zoom in on the area where you wish to insert the text and adjust the scroll bars if necessary so you can conveniently see what you are working on. Then click where you wish to make the insertion so you have a flashing vertical cursor.
Then type, and the letters you type will be inserted at the cursor. In our example I will type March 19, 1999
Deleting Text:
You delete text the right of the flashing vertical cursor using the delete key, and you delete text to the left of the vertical cursor using the backspace key. In our example we will delete 1999/ by pressing the delete key 5 times.
Highlighting Text:
You highlight text if you intend to perform the same operation on an entire block of text. To highlight text you drag your mouse from the left side of the first letter to be highlighted to the right side of the last letter to be highlighted. This may be referred to as dragging your mouse across the text. In our example we will drag (depress and hold down the left mouse button) from our flashing vertical cursor to the end of the line (move your mouse to the right across 03/19 and then release left mouse button).
Once a block of text is highlighted, if you type all of the highlighted text is automatically deleted. This is a useful method of replacing text. Alternatively you can highlight a block of text and then press the delete key only once and the whole block is deleted:
Changing Font Style:
To change the font style (character style) first highlight text you want to change.
Now on your font control located near the center of the top toolbar
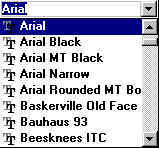
Open the font name drop down list by clicking the
![]() button:
button:

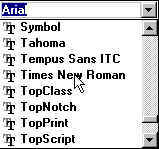
In the drop down list, scroll to the font name you want and click it:

This will change the font, to the one you have selected.
Changing Font Size:
To change the font size (character size) first highlight text you want to change. Now on your font control located near the center of the top toolbar
Open the font size drop down list by clicking the
![]() button.
button.

Scroll if necessary and then click the desired font size.
Bold and Italic:
For Bold or Italic, first highlight the text. Then use the
buttons to select the desired effect.
Centering and Alignment:
You can center text within its text frame or set other alignments with the
button. Highlight the text first and then click to button to apply the alignment.
Text color:
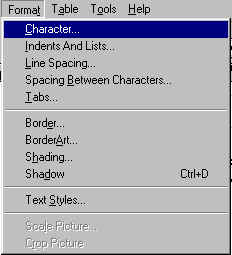
To change the color of text, first highlight the text. Then click
![]() to open the Format menu and click
to open the Format menu and click
![]() or Font
in later versions.
or Font
in later versions.

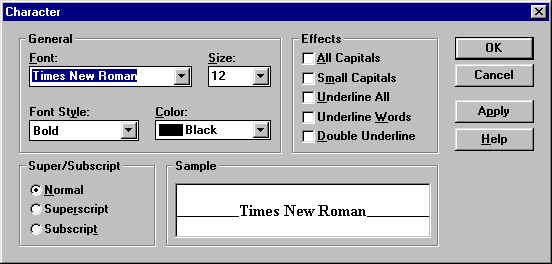
the
![]() window will open like this
window will open like this

then use the
![]()
drop down list to select a font color of your choice.
Letterhead or Background:
Some of the text is on your letterhead (Publisher refers to this as in the
"Background"). To work on this text you have to switch Publisher to the
Background. You switch to the Background by pressing ctrl+M (and return again to the
foreground by pressing ctrl+M again). Or click
![]() to open the Page menu and then
click
to open the Page menu and then
click ![]() to change to the
Background. While in the Background you will be able to make changes to you letterhead.
to change to the
Background. While in the Background you will be able to make changes to you letterhead.