INTERFACE™ TUTORIALS
Using Microsoft Publisher's Zoom In and Zoom Out Features

INTERFACE™ TUTORIALSUsing Microsoft Publisher's Zoom In and Zoom Out Features |  |
This page describes how to zoom in and zoom out in Microsoft Publisher.
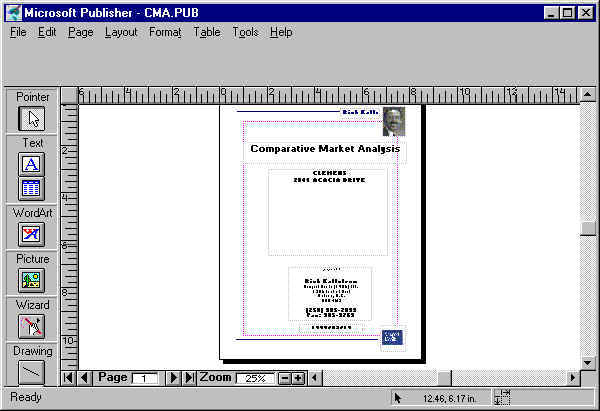
Begin by merging a CMA. You will then have a Microsoft Publisher window with your CMA in it like this.

Set Publisher to full screen
mode by clicking the
![]() button near the top right
corner of the Publisher Window.
button near the top right
corner of the Publisher Window.
Microsoft Publisher is not a word processing program it is a layout program. It is designed for creating layouts that combine pictures, and various styles of text on the same page. Since it is a layout program it starts out by displaying the page layout. Unfortunately (unless you have a very large monitor) when you look at the layout of the entire page, some of the text may be too small to see. To deal with this problem Publisher has a zoom in/zoom out feature.
The zoom control is located along the bottom just to the left of center and it looks like this:
There are 4 parts to this control, 3 buttons and a label:
| 1. | The main zoom button | |
| 2. | The label showing the current zoom status | |
| 3. | The zoom out button | |
| 4. | The zoom in button |
To zoom in (enlarge) click the
![]() (zoom
in) button. To zoom out (reduce) click the
(zoom
in) button. To zoom out (reduce) click the
![]() (zoom out) button. To zoom
directly to the magnification of you choice click the
(zoom out) button. To zoom
directly to the magnification of you choice click the
![]() (main zoom) button, and then
click on the desired magnification.
(main zoom) button, and then
click on the desired magnification.
When you zoom in you will zoom in on the currently selected object or the center of the page if there is no selection. To view some other part of the page you will need to scroll.