INTERFACE™ TUTORIALS
Create a CMA using ... a Microsoft® Publisher Custom Template

INTERFACE™ TUTORIALSCreate a CMA using ... a Microsoft® Publisher Custom Template |
 |
The creation of a custom CMA involves three basic steps:
1. Assembling the comparable properties - actives, sales and expired listings.
2. Filling in the subject property details.
3. Merging the subject property and comparables with a pre-made CMA template to create a CMA document.
There are several ways of completing the three basic steps. The method described here is only one example of one approach to completing a CMA.
Step
1: Assemble the comparables by utilizing the searching
capabilities of INTERFACE™: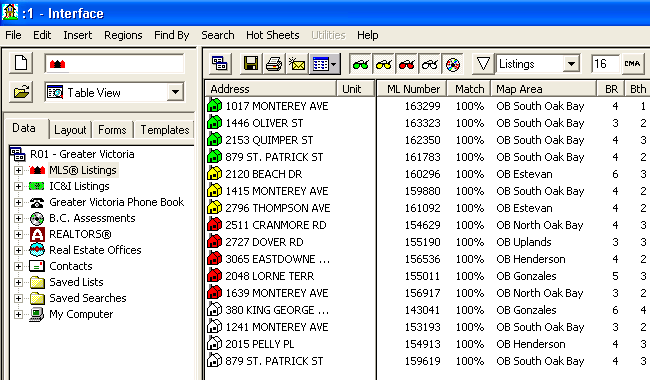
Step
2: Click on the CMA button.
This will open a
![]() window to,
like this ...
window to,
like this ...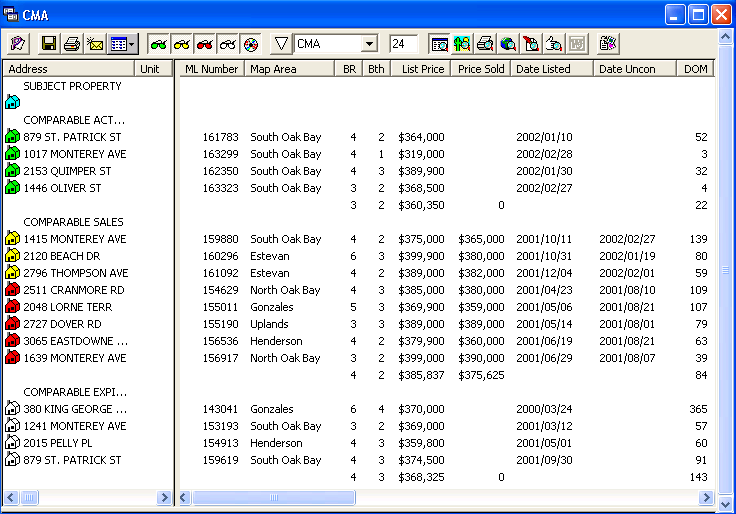
Step
3: Fill in the subject property information by double clicking to the right of
the blue ![]() icon. The
following window will appear ...
icon. The
following window will appear ...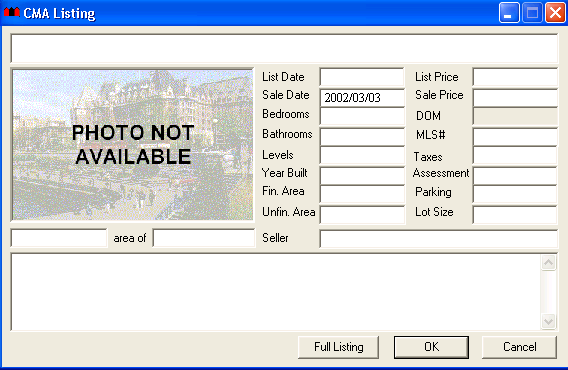
Information about the subject property can now be entered including the address in the space above the List Date and Remarks in the large white space below the Seller entry point.
Note:
If you are creating a CMA document based on a property that was previously
listed, rather than fill in the window above, find the previously listed property
and drag and drop the listing into the Subject Property position. In this
example we have found a property by MLS number 135526 and it has been dropped it
into the Subject Property position as shown ... After
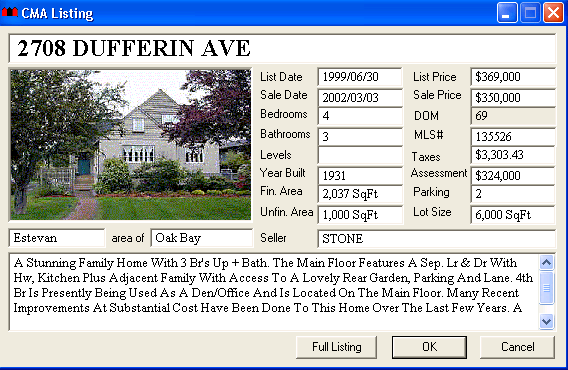
you have dropped the Subject Property in place - you can double click on the
Subject Property line and the following window will open ... This
information can now be edited and brought up-to-date. The
name of the "Seller" of the
subject property will be used throughout the CMA as the name of your prospect
and you may wish to change it accordingly. Likewise the "Sale Date" of the
subject property will be the CMA date (it will default to today's date but you
can postdate your CMA as you wish). The remarks section should normally be
changed to reflect your own astute observations about the subject property
(rather than those of the previous listing agent).
You should verify the accuracy of all information and complete all sections that
you are able to. Step 4: It
is a good idea to click the
Double click on the CMA folder and save your CMA under whatever name you choose. Step 5: Now "Merge" the subject property and the comparables with a
pre-made CMA template to create a CMA. To do this, click the
The
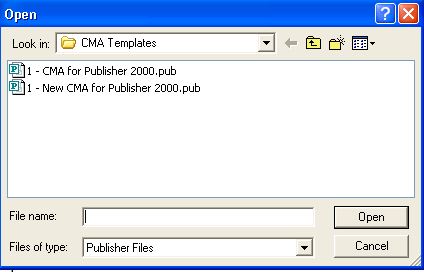
following window opens ... Select
the template you want to use from the list (Note: Most end-users will have only
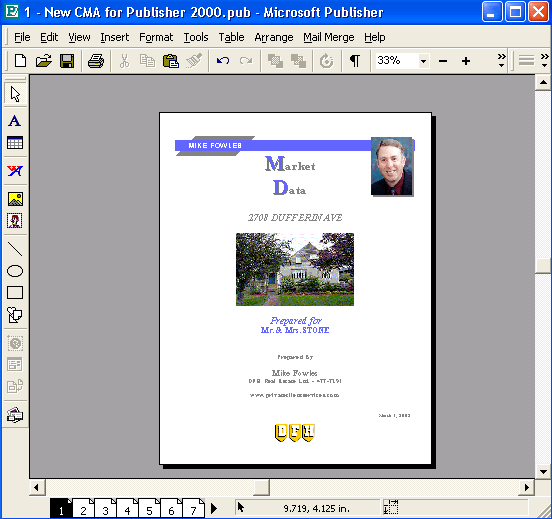
one template to choose from) and click on the Open button. The
Microsoft Publisher program will open automatically and the CMA data will
be merged with the template. Depending upon the speed of your
computer you will see the results of this merge in approximately 5 to 60
seconds. See results below ...
Now
proceed to customize your CMA as required and print it from Microsoft
Publisher.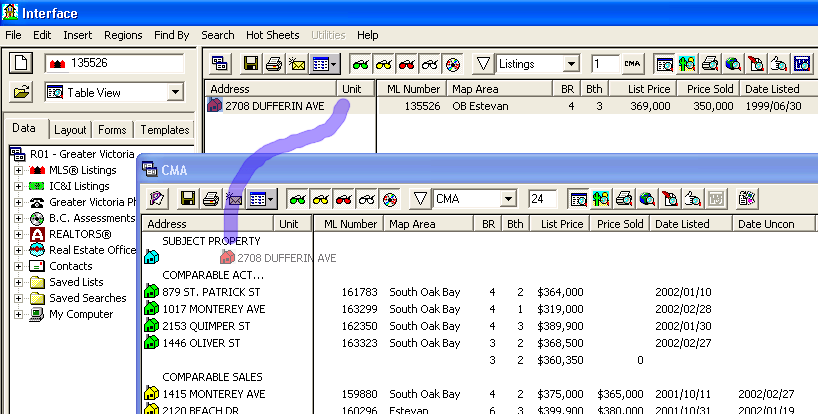
![]() Save button, and save your CMA. It is saved as a type of Floating
List and when you click the
Save button, and save your CMA. It is saved as a type of Floating
List and when you click the
![]() Save button INTERFACE™
automatically opens your "Interface_Saved_Items\Saved_Lists"
folder .
Save button INTERFACE™
automatically opens your "Interface_Saved_Items\Saved_Lists"
folder .
![]() "Publish" button.
"Publish" button. 
