Moving rows is one of the easiest things to do. You simply drag them with the mouse and drop them where you want to put them.
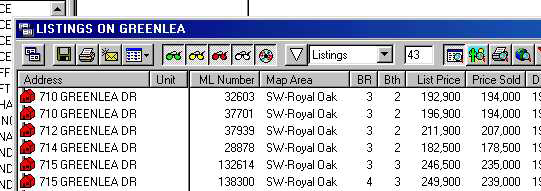
For our first exercise we will move a listing from one point to a different point within the same list. To do this, first create a list of all listings on Greenlea as we did before. The top part of the list looks like this:

Now drag
![]() up above
up above
![]() and drop it
there so that the list is re-arranged to look like this:
and drop it
there so that the list is re-arranged to look like this:

With the flexibility of this procedure you can easily re-arrange a list anyway that you like.
You can use the same procedure to move a listing (or any other row) from one list to another. We shall work through an example. Create a floating list of all listings on Greenlea, as we did before. The top part of the list looks like this:

Move the floating list off to the right so you can see the underlying fixed list below.
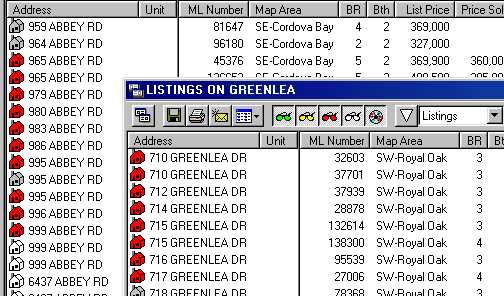
Now create a list of all listings on Abbey in the right main fixed window. Recall the fastest procedure for doing this is to click in the Quick Search Box and type in ABBEY, and then press the enter key on the keyboard. Your two lists will look like this:

Now drag
![]() and drop it
above
and drop it
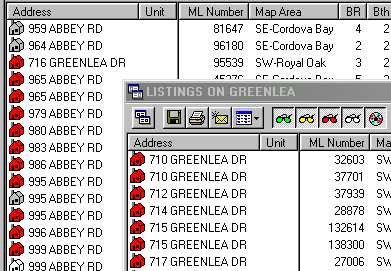
above ![]() so that the lists look
like this.
so that the lists look
like this.

Given that you can also delete listings from a list, you should now be able to create a list containing any arrangement of listings that you like. All of this can be done without tagging listings.